
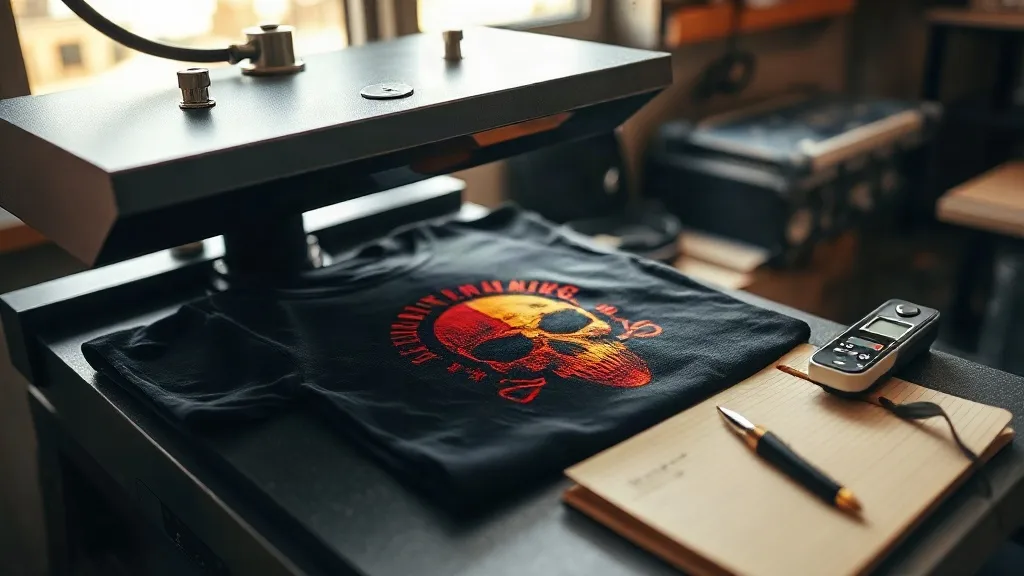
You peel back the film and the print looks great. Then you stretch the shirt and a corner lifts. Or the color looks slightly milky against a dark garment, or the edges have a faint halo. Nine times out of ten the file was fine and the printer was fine. The damage happened in the twenty seconds between the transfer touching the fabric and the press opening. Understanding those twenty seconds is the difference between a print that survives fifty washes and one that comes back as a complaint. This guide walks through the pressing mistakes that cause the most common dtf transfers failures, how to recognize each one, and what to change on your next pull.
Why the press, not the printer, deserves your attention
DTF printing is a two-part process: the printer lays down pigment and adhesive powder, and the press bonds that adhesive into the fabric fibers. The printer part is largely automated. Once your settings are dialed in, every sheet comes out roughly the same. The press is where variables creep in, because every garment has a different thickness, every fabric has a different heat tolerance, and every operator has a slightly different rhythm. A shop that tracks press consistency usually solves more defects than a shop that keeps buying new equipment.
Before blaming a batch of dtf film, run the same transfer on a scrap piece of the same fabric with a checklist in hand. Time, temperature, and pressure, in that order, account for almost every defect you will see.
Defect 1: The transfer peels after washing
This is the most common complaint and the most avoidable. If the film peels cleanly off after a wash, the adhesive never fully melted into the fibers. Three culprits are worth checking.
Pressure that is too light
Adhesive needs to be pushed into the weave, not just rested on top of it. A press that is barely touching the garment will bond the smooth surface and leave the fibers underneath untouched. Test with a scrap and increase pressure gradually until the transfer sits flat with no visible film outline.
Temperature below the adhesive's activation point
Most DTF powders activate in the 300 to 320°F range, but the number on your controller is not always the temperature at the platen. Infrared thermometers are cheap and worth owning. Measure the actual platen surface before you trust the display.
Cooling before peeling
Hot peel films want to come off while still warm, usually within a few seconds of the press opening. Cold peel films need to cool completely. Mixing the two or rushing a cold peel will tear the adhesive layer and leave a ragged edge. Know which film you are using and build that pause into your workflow.
Defect 2: A cloudy or milky look on dark garments
A white haze around the print usually means the adhesive powder was not fully cured during the printing stage, or the press temperature was too low to melt it clear. You can spot an undercured sheet before pressing: the powder looks grainy and lifts off with a fingertip. Once pressed, the haze is baked in and the shirt is a loss.
- Shake the powder evenly and tap off the excess before curing.
- Cure at the powder manufacturer's recommended temperature and time, not by eye.
- Store printed sheets flat and away from humidity, which makes powder clump.
- If the haze appears only on some garments, check whether those fabrics are heavier or have a water-repellent finish.
Defect 3: Wrinkles and ghost lines in the print
A crease in the fabric becomes a crease in the print, and once it is pressed, you cannot fix it. Pre-press each garment for a few seconds to release moisture and flatten the weave, then let it cool slightly before laying the transfer down. Skipping this step is the single most common cause of ghost lines, especially on heavyweight cotton and hoodies with thick seams.
Watch for seams and pockets too. A transfer placed over a bulky seam will not get even pressure, so the bond there will be weak even if the rest of the print looks fine. Reposition the design or use a pressing pillow to lift the seam away from the platen.
Defect 4: Color that looks dull or faded after pressing
Heat that is too high for too long can scorch pigment and leave the print looking washed out. This is especially common on polyester, which is heat sensitive and can also show dye migration. Lower the temperature slightly, shorten the dwell time, and use a cover sheet to distribute heat evenly. On dark polyester, a low-bleed film or a barrier layer is worth the extra cost.
If you are sourcing film and finding that some sheets press dull no matter what you do, the issue may be the film itself. Comparing a few suppliers side by side on the same fabric and press settings tells you more than any spec sheet. Many shops use a local option when they need a fast restock, which is why searches for dtf transfers near me spike before busy seasons. The important thing is to test any new supplier on scrap before committing a full order.
Defect 5: Edges that lift or curl
Curling edges usually come from uneven pressure across the platen or from trimming the film too close to the print. Leave a small border of clear film around the design so the adhesive has room to bond. If your press has a worn platen pad, the center will press harder than the edges, and you will see a pattern of failures around the perimeter of every large print. Replace the pad before you chase more complicated explanations.
A simple press log that saves money
Keep a notebook or spreadsheet next to the press and record four things for every job: fabric type, press temperature, dwell time, and pressure setting. When a defect appears, you can compare it to the last successful job on the same fabric instead of guessing. After a few weeks, patterns emerge. You will notice that your hoodies need an extra two seconds, or that one supplier's film runs better five degrees cooler. That log is worth more than any generic settings chart, because it reflects your equipment and your garments.
Frequently asked questions
Can I press DTF transfers with a home iron?
You can, but results are inconsistent. A home iron does not deliver even pressure or a stable temperature, so bonds are usually weaker and edges tend to lift. For occasional single shirts it is workable if you press firmly and slowly with a cover sheet, but for anything you plan to sell, a proper heat press is essential.
How long should I wait before washing a freshly pressed shirt?
Wait at least 24 hours. The adhesive continues to settle as it cools, and washing too soon can weaken the bond even if the print looked perfect coming off the press. Turn garments inside out and use cold water for the first wash.
Why does my transfer stick to the cover sheet instead of the shirt?
This usually means the shirt was not pre-pressed and still held moisture, or the press temperature was too low. Pre-press the garment for a few seconds, confirm your platen temperature with an infrared thermometer, and try again on scrap before running the full order.
Do I need different settings for polyester and cotton?
Yes. Polyester is more heat sensitive and prone to dye migration, so it generally wants a slightly lower temperature and a shorter dwell time, plus a cover sheet. Cotton tolerates higher heat and usually bonds more easily. Always test on a scrap of the exact fabric you are printing.
How do I know if my pressure is right?
Press a test transfer and look at the film outline after peeling. If you can see a faint impression of the film edges in the fabric, pressure is probably in a good range. No impression at all suggests pressure is too light; a deep, sharp outline suggests it is too heavy and may cause the print to look flattened.